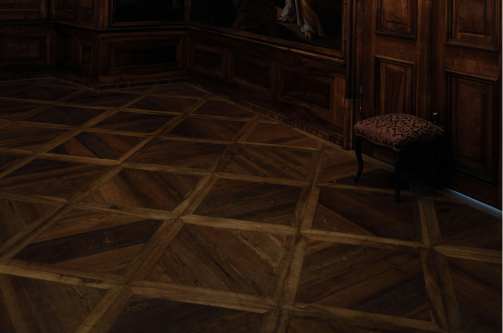
How to renovate a parquet?
When it comes to elevating the aesthetic appeal and value of your home, few options can rival the charm and sophistication of wooden parquet flooring. This timeless flooring option, known for its intricate patterns and classic allure, has been a favorite among interior designers and homeowners for centuries. In this blog post, we’ll explore the beauty of wooden parquet flooring, its benefits, and a step-by-step guide to installing it in your own home.
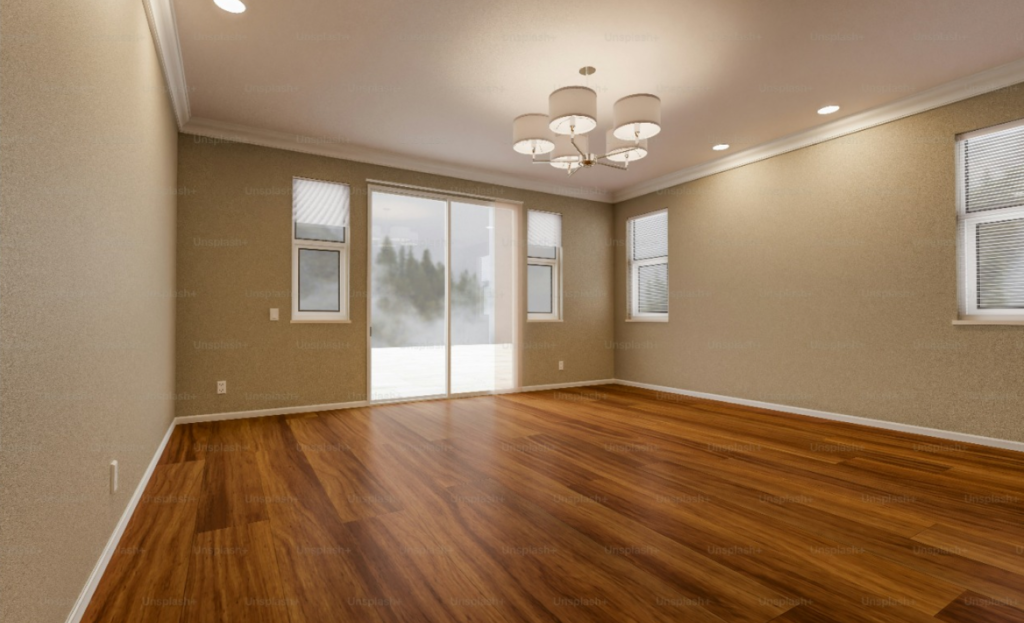
The Timeless Appeal of Wooden Parquet Flooring
Wooden parquet flooring consists of small wood pieces arranged in decorative patterns, such as herringbone, basket weave, and chevron. Originating in 16th century France, parquet flooring was initially a luxury reserved for the wealthy. Today, it remains a symbol of elegance and craftsmanship, adding a touch of classic beauty to any space.
Why Choose Wooden Parquet Flooring?
- Aesthetic Versatility: Parquet flooring comes in various wood types and patterns, allowing you to tailor the design to suit your interior decor.
- Durability: High-quality wooden parquet floors are robust and can last for decades with proper care, making them a long-term investment.
- Easy Maintenance: Unlike carpets, parquet floors are easy to clean and maintain. Regular sweeping and occasional mopping are usually sufficient.
- Adds Value to Your Home: Homes with parquet flooring often see an increase in property value due to its perceived luxury and durability.
Step-by-Step Guide to Installing Wooden Parquet Flooring
Acclimate the Flooring: Store the parquet tiles in the room where they will be installed for at least 48 hours. This allows the wood to adjust to the room’s temperature and humidity, preventing future expansion or contraction.
Prepare the Subfloor: Ensure the subfloor is clean, dry, and level. Any imperfections can affect the final look of your parquet flooring. If necessary, sand down high spots and fill low areas with a leveling compound.
Install a Moisture Barrier: Lay down a moisture barrier or underlayment to protect the wood from potential moisture coming from the subfloor.
Plan Your Layout: Use a chalk line to mark the center of the room and create guidelines for laying the tiles. This ensures your pattern starts symmetrically and remains straight.
Apply Adhesive: Using a trowel, spread the adhesive on a small section of the floor, working in manageable areas to prevent it from drying out before you place the tiles.
Lay the Parquet Tiles: Begin placing the tiles along your chalk lines, pressing them firmly into the adhesive. Pay close attention to the pattern alignment to ensure consistency. Use a roller to press the tiles down evenly.
Cut and Fit Edges: Measure and cut tiles to fit along the edges of the room. A saw will help you achieve precise cuts for a seamless finish.
Allow to Set: Let the adhesive set according to the manufacturer’s instructions before walking on the floor or adding any finishing touches.
Sand and Finish (if needed): If you’re installing unfinished parquet tiles, you’ll need to sand the surface once the adhesive is set. Follow this with staining or varnishing to achieve your desired look.
Regular Maintenance: Maintain your parquet floor by sweeping regularly, cleaning spills immediately, and occasionally polishing to keep it looking pristine.
Conclusion
Installing wooden parquet flooring is a rewarding project that can dramatically transform your space with its timeless beauty and elegance. By following the steps outlined above, you can achieve a stunning, durable floor that adds warmth and character to your home. Whether you opt for a classic herringbone pattern or a unique design, parquet flooring is a choice that combines practicality with aesthetic charm. So, roll up your sleeves and get ready to add a touch of sophistication to your home with wooden parquet flooring.